User Tools
This is an old revision of the document!
Setting Up A Public Key Authentication Using Linux or OS X with SSH
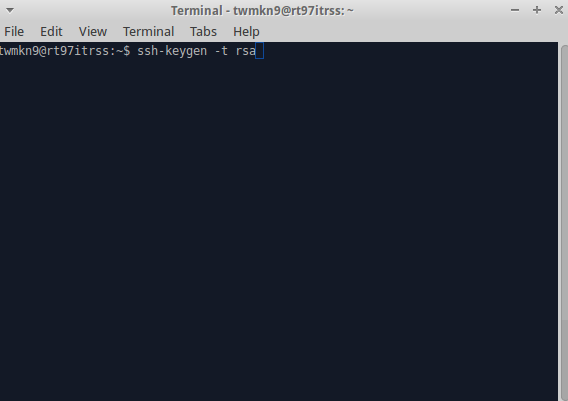
1. Generate a key by typing the following command into the command line:
ssh-keygen -t rsa
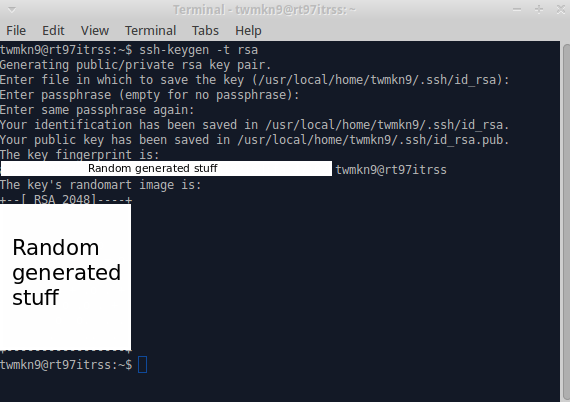
2. A prompt will appear expecting you to provide a filename (where your key is saved) and passphrase (to protect your key). For the purposes of this system you can simply hit enter on both of these prompts in order to use the default file location and no passphrase. Your private key should now be generated and stored off the .ssh directory (with a name such as id_rsa). Your public key will also be generated and have the same filename and storage location, but will have a .pub extension (such as ~/.ssh/id_rsa.pub).
3. Using your University email, send your public key file ONLY, (do not send us your private key) to it-research-support@mst.edu and allow some time for an administrator to copy your public key for remote access. You will receive email confirmation when you are authorized.
4. You now should be able to SSH to your account on the remote system (i.e. username@forge-remote.mst.edu) from the computer (such as host1) that has your private key (~/.ssh/id_rsa) by using the following command:
[username@host1 ~]$ ssh username@forge-remote.mst.edu
If you didn't save this file to a default location then you will have to tell ssh what key file you would like to use with the -i switch.
[username@host1 ~]$ ssh username@forge-remote.mst.edu -i /path/to/your/private/key/file
Setting Up A Public Key Authentication Using Windows with Putty
1. Install needed PuTTY packages using the linked executable.
2. Open the PuTTYgen key generation utility (NOTE: This is a separate program from PuTTY).
3. Under Parameters, select SSH-2 RSA. Set the number of bits generated in key to either 2048 or 4096 (4096 is preferred). Note: Newer versions of PuTTYgen do not have the SSH2-RSA option, instead select the RSA option.
4. Under Actions, click Generate. When prompted use your pointing device (mouse, trackpad, trackball, etc.) to move your cursor around the blank area under Key (this generates randomness the utility uses to create your key pair).
The program will display your generated public key under Key whenever it has completed generation.
5. Under Actions, click Save public key.
6. Give your file a name (such as putty_key) and select a location to store it on your computer before hitting Save. Make sure this is a location you can easily find again, your user's home folder is a good place.
7. Under Actions, click Save private key.
8. Make Save as type set to PuTTY Private Key Files (*.ppk), give the file a name (such as putty_private_key), and select a location to store it on your computer before hitting Save. Make sure this is a location you can easily find again, your user's home folder is a good place. It is advisable to set a passphrase to protect this file since all your encryption will be done with this file.
9. Using your University email, send your public key file ONLY, (do not send us your private key) to it-research-support@mst.edu and allow some time for an administrator to copy your public key for remote access. You will receive email confirmation when you are authorized.
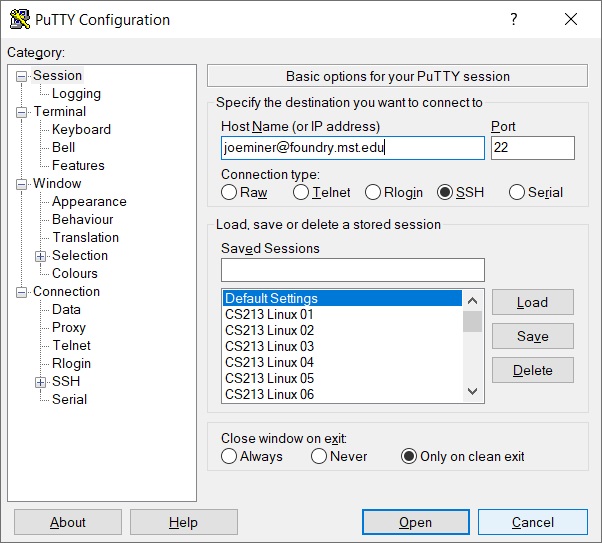
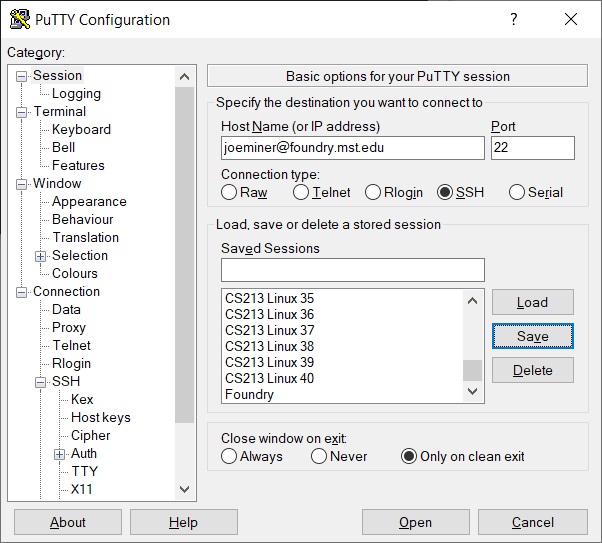
10. In the Putty Session window, type in forge-remote.mst.edu in the box under Host Name (or IP address).
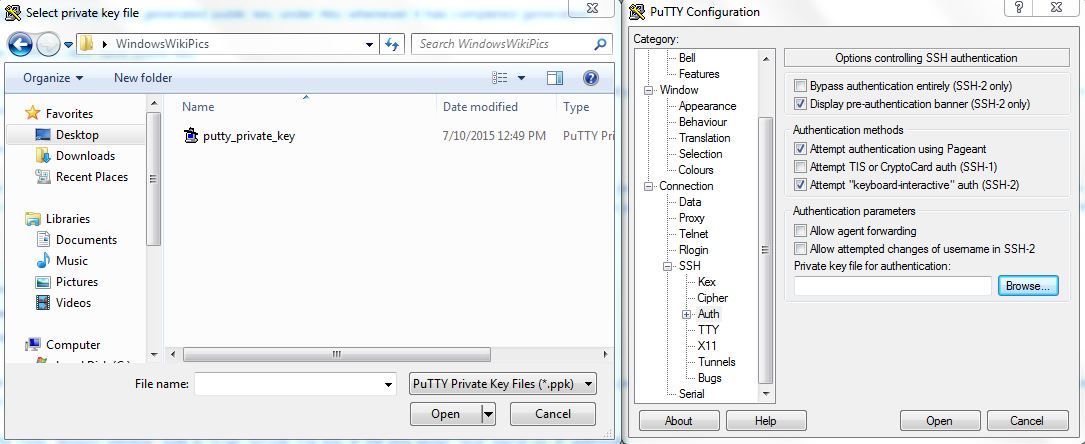
11. In the sidebar, click on the SSH drop down arrow. Then click on Auth. Under Private key file for authentication: click Browse then select your private key file which you saved previously.
12. Return to Session by using the sidebar, and in the box under Saved Sessions type in a name (ex: Forge). Press the Save button to the right of the list of saved sessions.
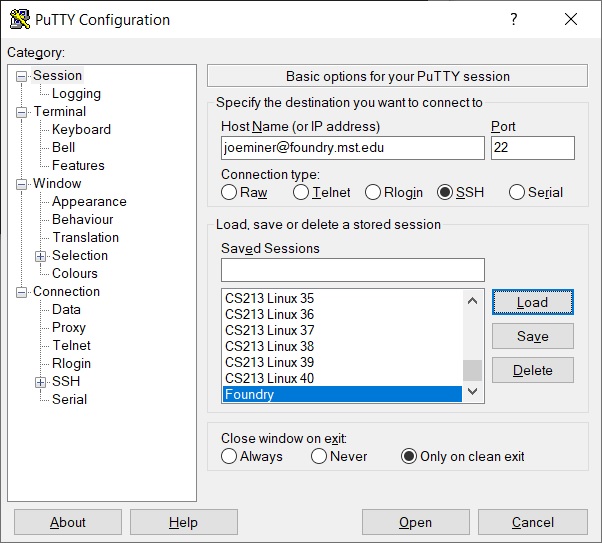
13. Now each time you would like to access the cluster, select your saved session (Forge in the example above) then select the Load button to the right of the list of saved sessions.
14. Press the Open button. You should now be connected to your account on the remote server

